Hit enter after type your search item
Home / Origami / Windmill origami tutorial

Windmill origami tutorial

Windmill origami tutorial

Windmill origami tutorialnum

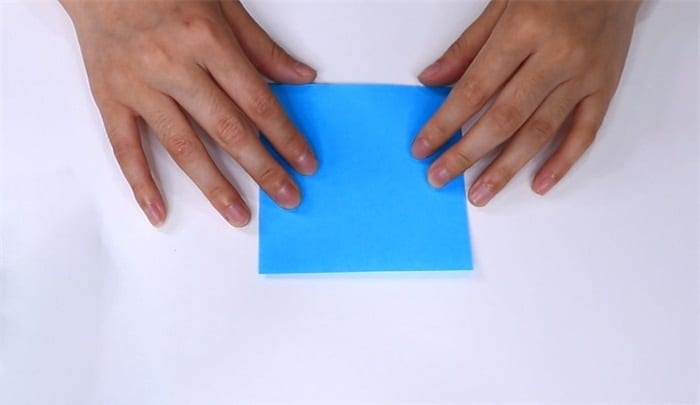
1. Prepare a square colored paper.

Windmill origami tutorialnum

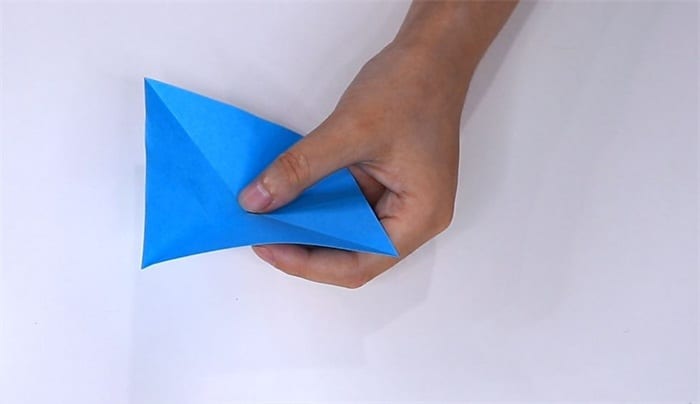
2. Fold in half along two diagonal lines and open to get a crease.
Windmill origami tutorialnum

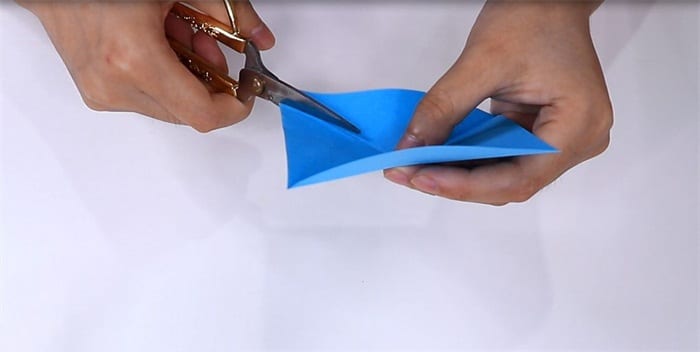
3. Take out the scissors and cut about two thirds along the crease.
Windmill origami tutorialnum

4. Cut two thirds of the other three creases.
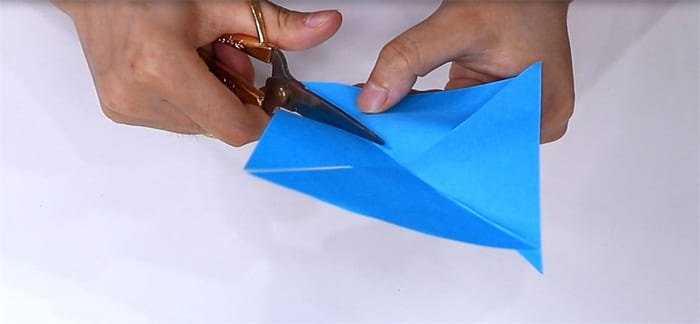
Windmill origami tutorialnum

5. Lift up the left corner of the triangle and stick it at the midpoint with double-sided adhesive.
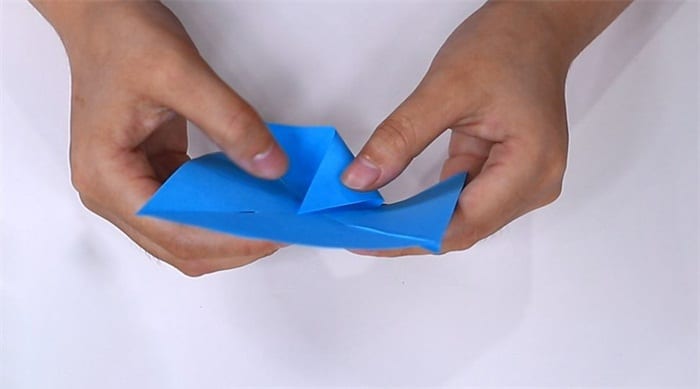
Windmill origami tutorialnum

6. Using the same method, glue the left corners of the other three triangles to the midpoint.

Windmill origami tutorialnum

7. Take another square cardboard and roll it from one corner.
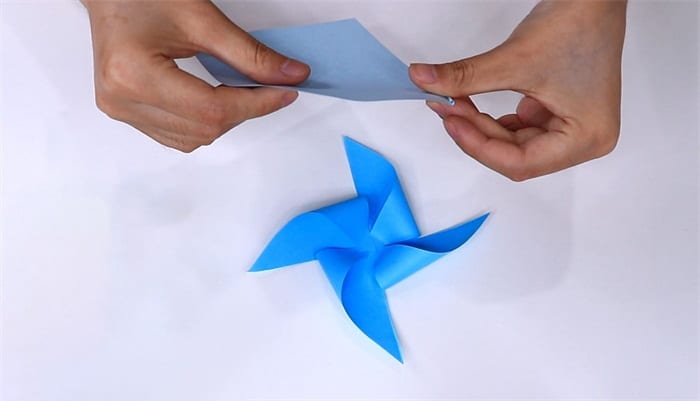
Windmill origami tutorialnum

8. Roll the square into a thin rod.

Windmill origami tutorialnum

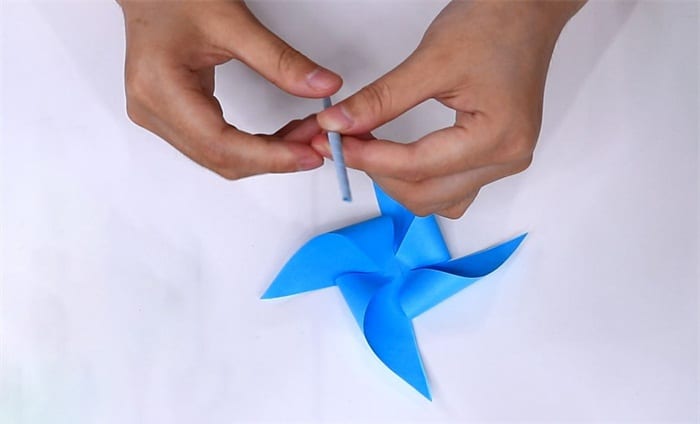
9. Stick one end of the thin rod on the center of the windmill with double-sided tape.
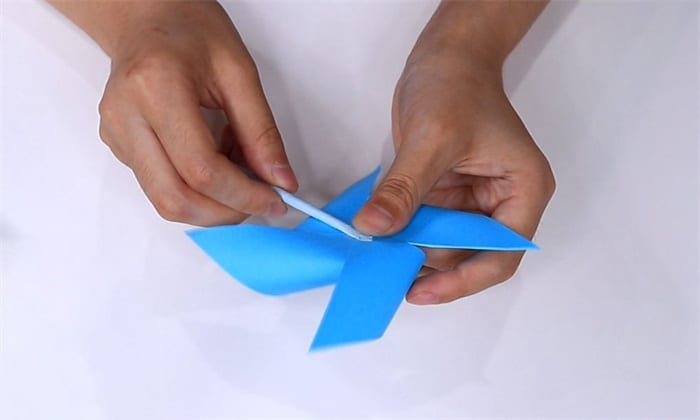
Windmill origami tutorialnum

10. A simple and beautiful small windmill is ready.
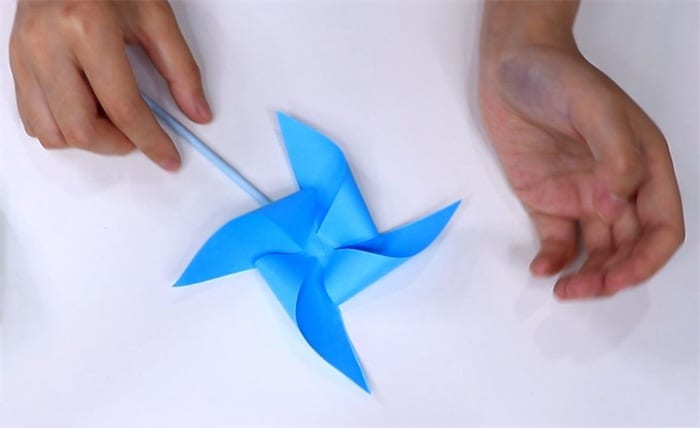
Windmill origami tutorialnum


Leave a Comment

This div height required for enabling the sticky sidebar
Ad Clicks : Ad Views : Ad Clicks : Ad Views : Ad Clicks : Ad Views : Ad Clicks : Ad Views : Ad Clicks : Ad Views : Ad Clicks : Ad Views : Ad Clicks : Ad Views : Ad Clicks : Ad Views : Ad Clicks : Ad Views : Ad Clicks : Ad Views : Ad Clicks : Ad Views : Ad Clicks : Ad Views : Ad Clicks : Ad Views : Ad Clicks : Ad Views : Ad Clicks : Ad Views :